Rons Primitive Skills

Custom Search

Search This Blog

Showing posts with label diy. Show all posts

Saturday, January 7, 2023

My all time favorite primitive technology books

 I have a sizeable library. Physical books- probably around 500. Digital books and other type documents- probably around 100,000.  I have been interested in nature since I was old enough to walk. So, a vast majority of my books are on nature subjects-  rocks, plants, animals, etc. I have a lot of survival books. I have a lot of gardening and self reliance books. My favorite though, are my primitive technology books. My collection of physical PT books are:

Primitive Technology vol 1 & 2 edited by Wescott

Practicing Primitive by Watts

all 3 Woodsmoke books by the Jameson's

Both volumes of Primitive Wilderness Living by the McPherson's

Survival Arts of the Primitive Paiutes by Wheat

Wilderness Survival Handbook by Pewtherer

Can you Survive by Pressley

And the one that started it all......Outdoor Survival Skills by Olsen

In 1976 I picked up a copy of Olsen's book at the ARMY PX bookstore when I was stationed in West Berlin, Germany. I thought  "this is it!  When will there be more work on this subject?" It had just come out in paperback. By the way I still have this book. All I did was put a clear plastic jacket on it. It looks to be in pretty good shape for all the field work it saw. I made a carry case out of hard, thick rawhide to protect it on my ventures. West Berlin was around 100 miles behind the "Iron Curtain" in East Germany, the Communist German Democratic Republic, a Soviet ally at the time. What a lot of folks don't know is there are large areas of forested land in Berlin. The one I roamed was the Grunewald which translates to "green forest". There were some pretty secluded areas and the only threat was the huge European wild pigs. Those things looked like small rhinos when you saw them running through the woods! And they could be downright mean! There were red deer too. And of course rabbits and squirrels. Fires were a no-no but if you were smart and built a small smokeless fire all was good. I had many a good time on my days off out in the 'wald.

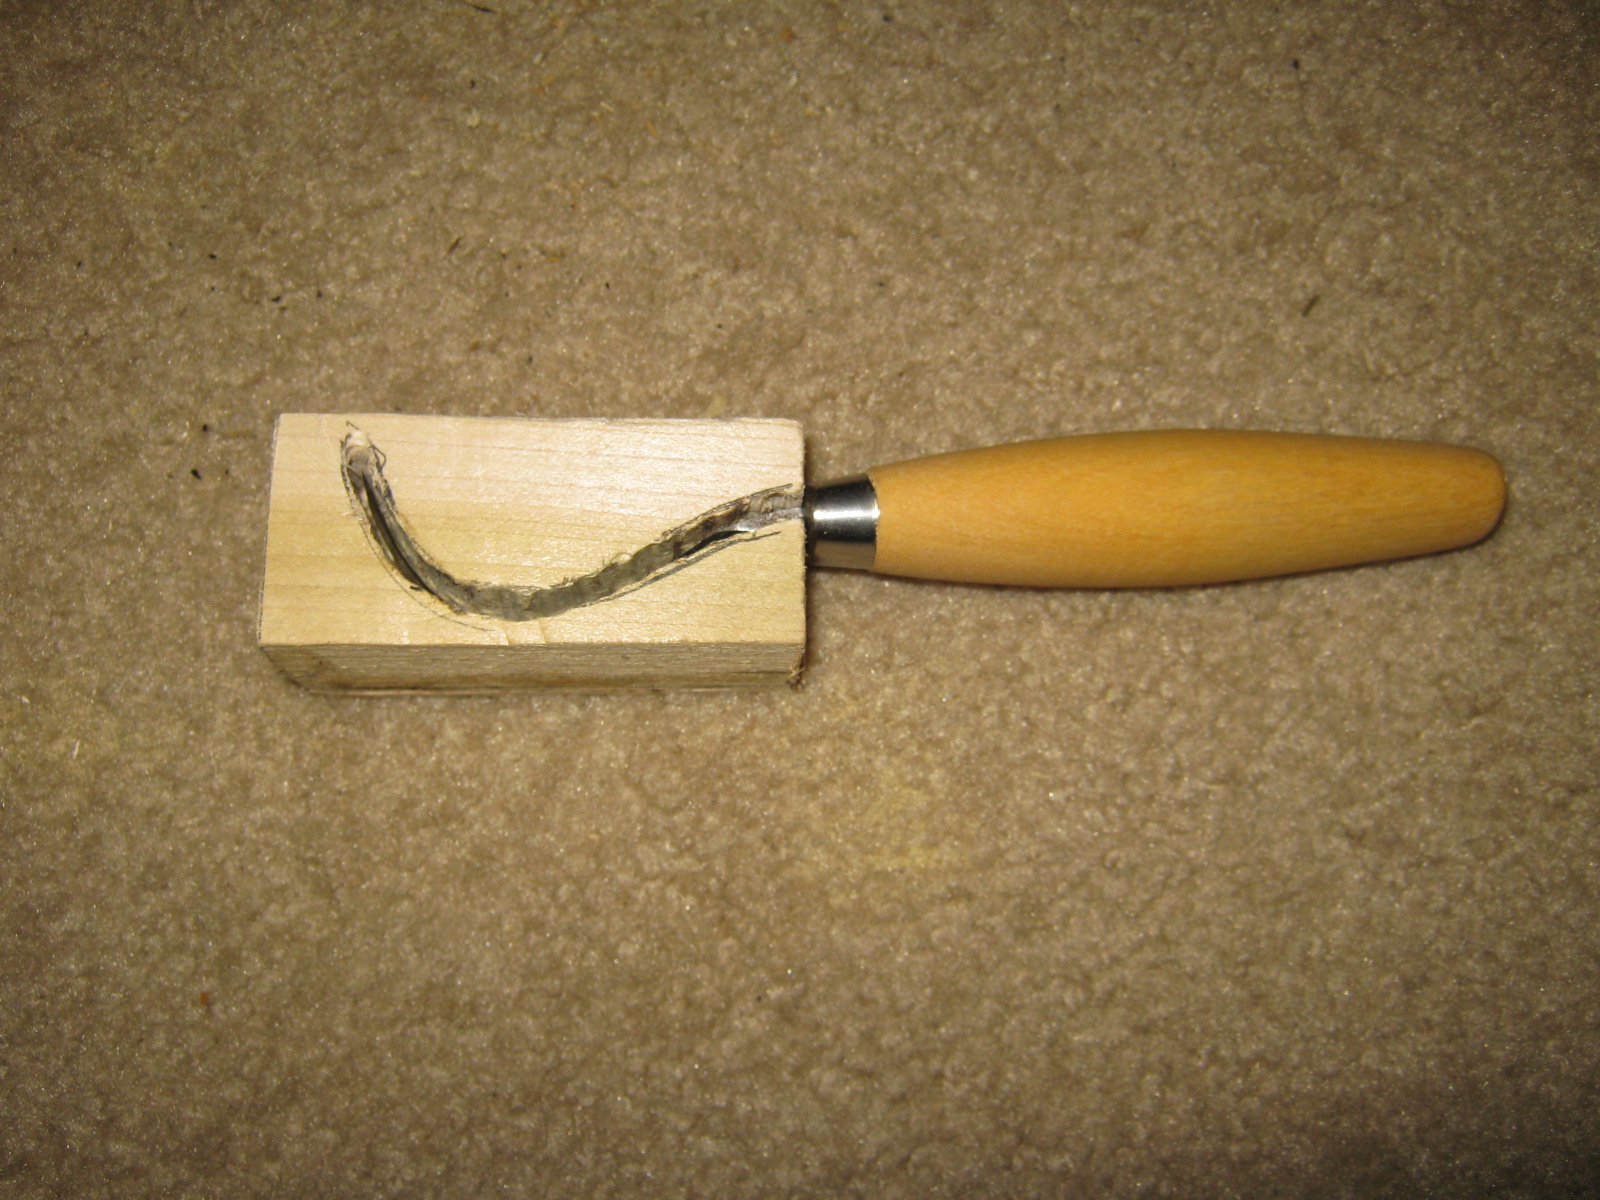
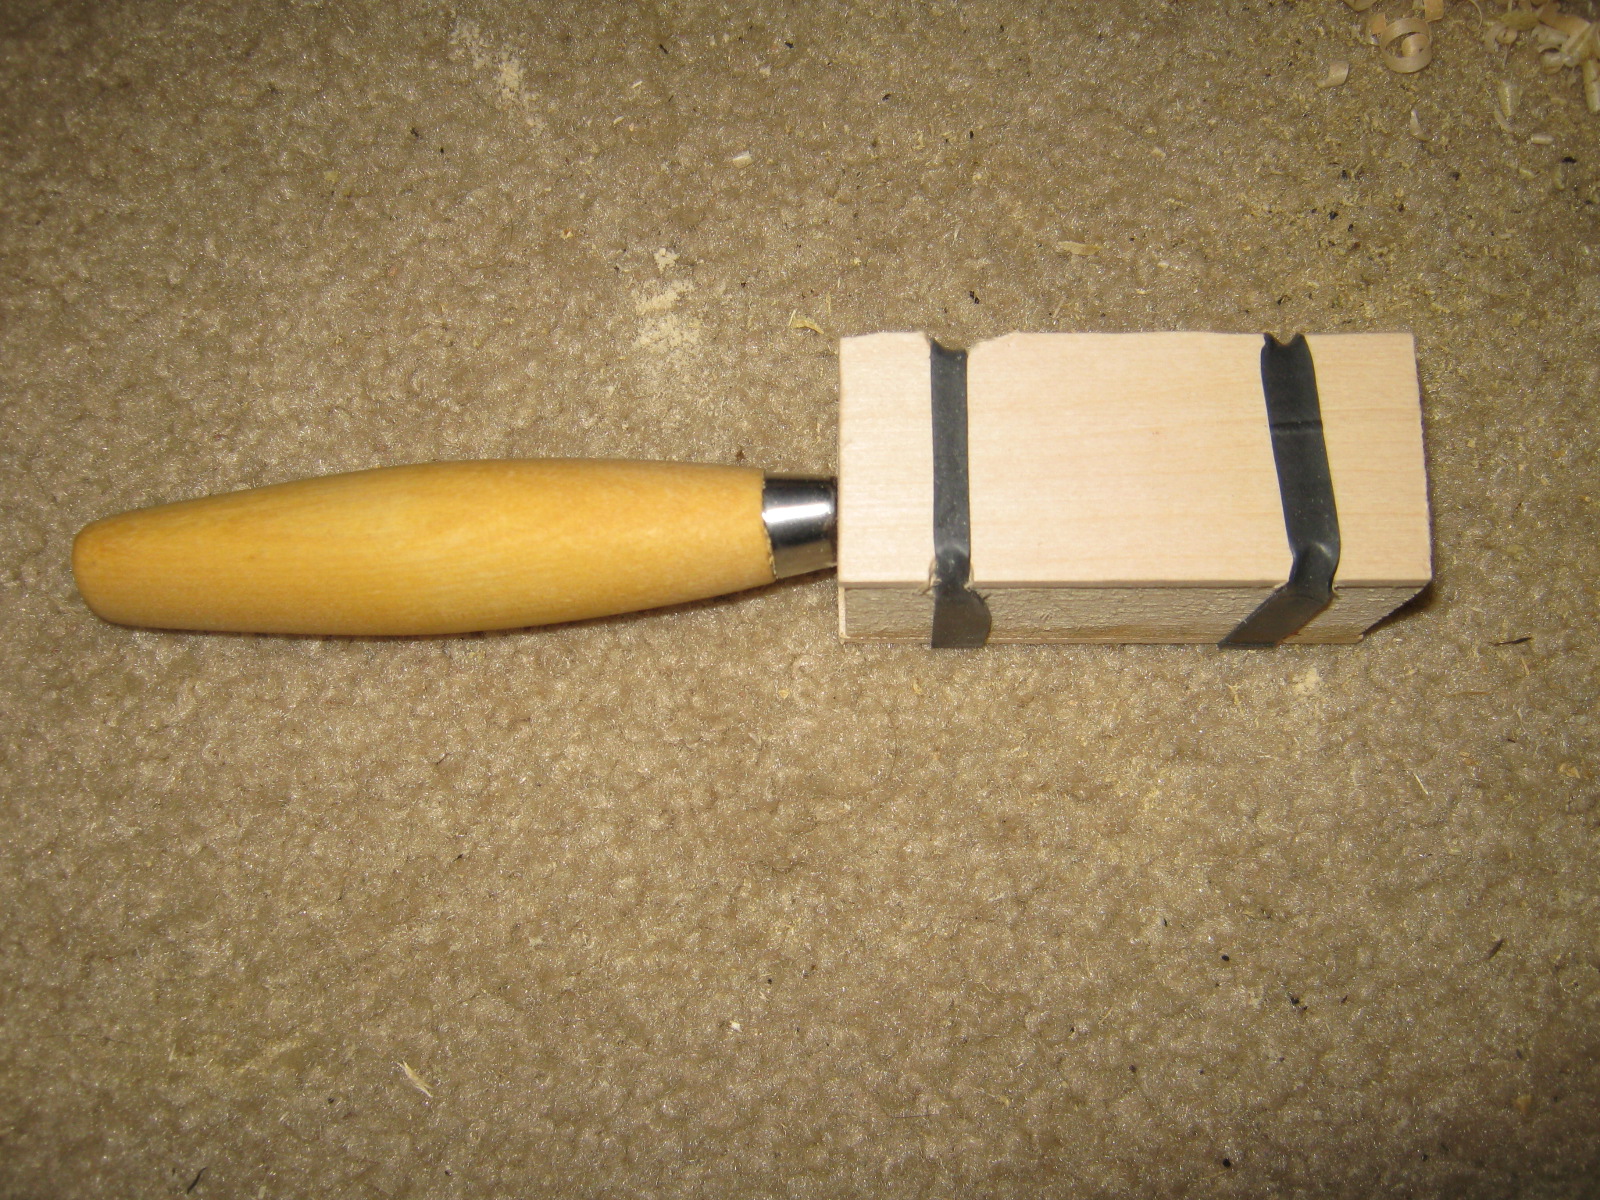
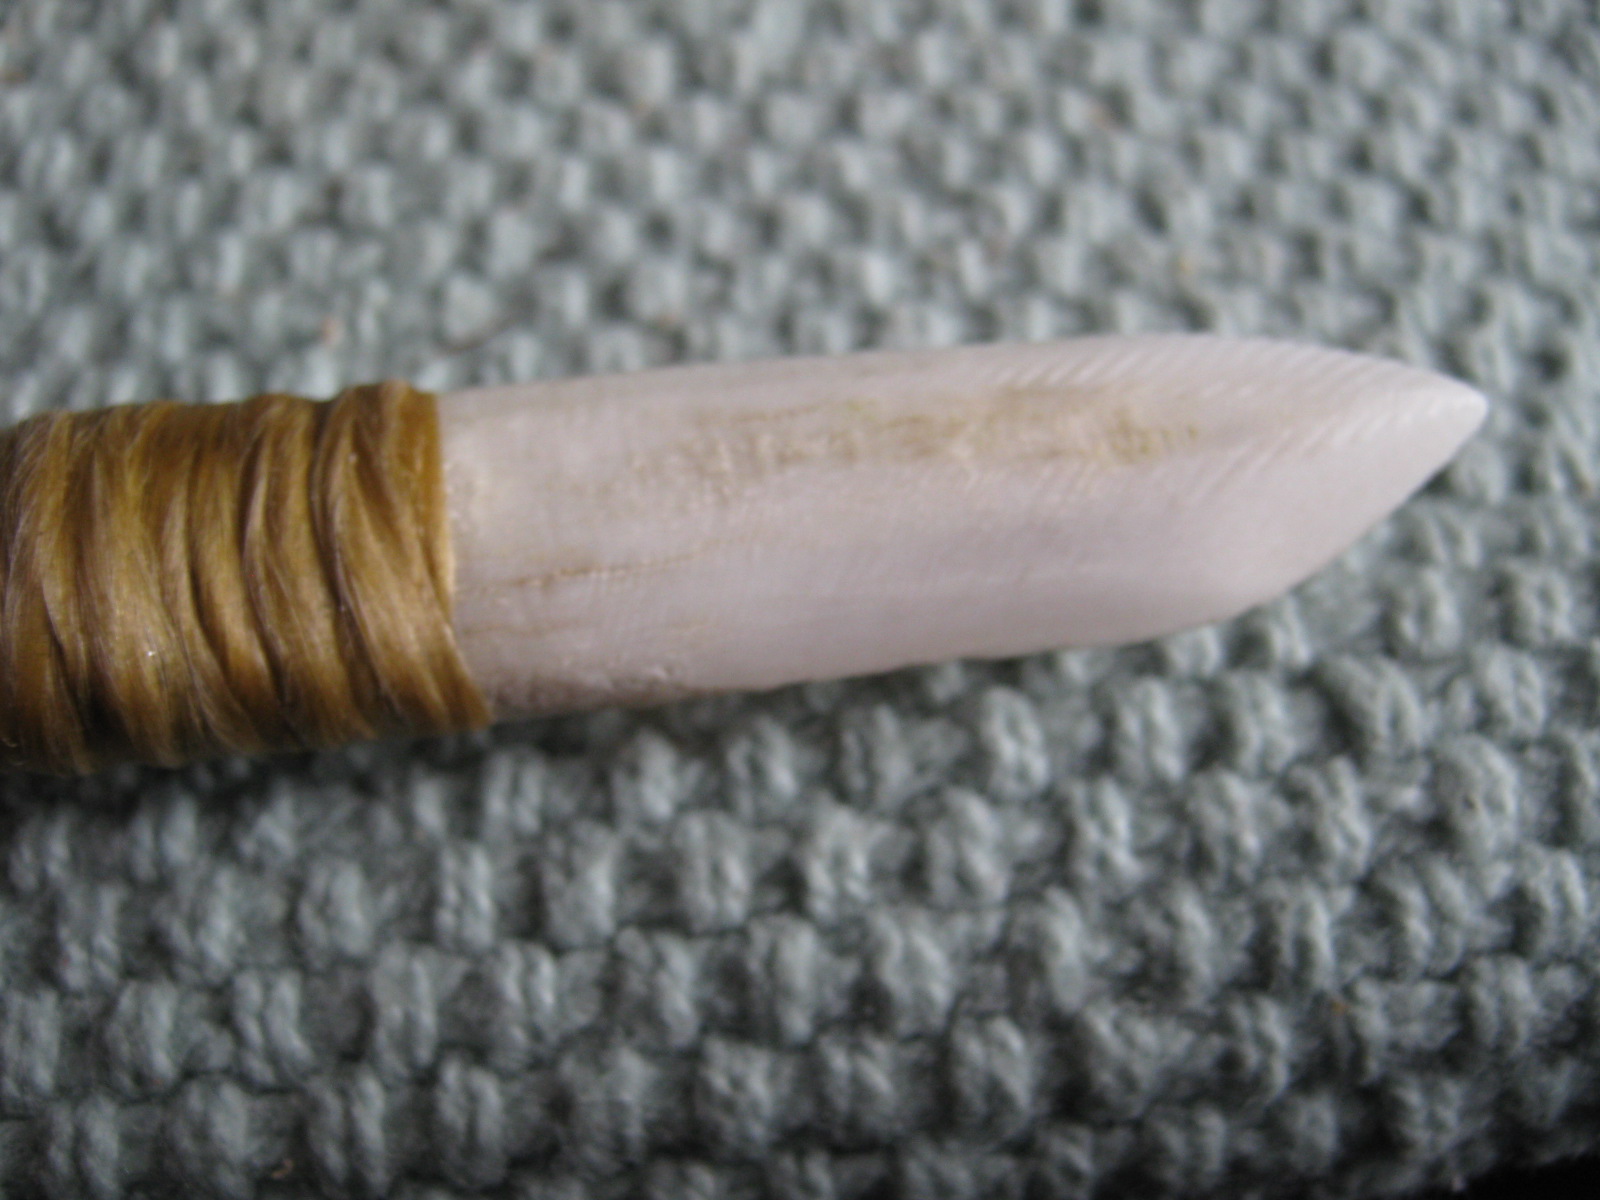
Notice that some of these books have "survival" in the title. I would say that they are more geared towards primitive skills than modern. The book by Pewtherer covers some modern necessities such as first aid kits (I always carry a small modern geared kit when I go woods running) and some other modern tools like a compass and survival kit. The rest is surviving from a primitive technology view point. Ben Pressleys book is almost all primitive except he shows how to use a fire steel and there are a few photos of him in a 18th century long hunters outfit. This is all just fine with me. I live in both worlds but I prefer primitive tech and skills. Its more a hobby thing. I use modern tools like saws, axe's, steel knives and such for my primitive projects if it requires serious stock removal. I've done many purist stone, bone  antler & wood bow building and other projects but my joints are showing the damage done to them over many years of this type work let alone all the years doing most of my building construction by hand. It gets to ya quick so if there's an easier way I'll go that route. There are days when I can hardly bend my fingers and my wrists pulse with pain but I keep plugging along. Life is too much fun to give in to pain and discomfort. I just cut a little slower now.

I'm always looking for more stuff to write about and if there is something you would like me to research please let me know. I'm in need of resources such as bone, antler, hides and rock so if you have any extra I would be pleased. I have a few things to trade. Until next time, take care and enjoy life. Make as much of it as you can!

Tuesday, December 10, 2013

Green Carving Wood-Yaupon

Back in the middle of November I was clearing some of the brush and small trees from around the property. I took down the largest yaupon holly tree, Ilex vomitoria, I have yet seen. It was 20 feet tall and had a diameter at the base of 5 inches. I decided to cut it into 2 foot sections and seal the ends with latex paint for future carving material.  The reason for sealing it is the habit of all holly trees to check and crack like crazy if they dry too fast. Its such a dense and beautiful wood and I don't want to waste an inch.
Yaupon isn't scarce here. I can count 100 of his cousins in 10 minutes within 20 feet of the stump. I have a few other holly trees in line for harvesting and I believe they are American holly, Ilex opaca. None of them are as large as the yaupon tree I took down, most being at the most 3 inches in diameter. These, too, will get the same treatment as the yaupon. I let the yaupon log air out and dry a little in the shade for about a month before I cut it and sealed it. I then moved the wood to our aviary to keep it out of the weather and give it a cool, shady place to dry. This wood is used for turning, inlay and carving. I plan to make a lot of spoons and utensils with some of this wood. A search for green wood carving has show quite a few pages and a lot of info on the subject. Looks promising. Here's a link that mentions yaupon holly in a wood working forum. Its the last post at the bottom: http://lumberjocks.com/topics/8709

Here are some photo's.


2 foot sections fresh cut & ready to treat

3 1/4" should be plenty big enough to get some good carvings. This wood will yield a lot of spoons and kitchen utensils as well as other good things!
Nice clean wood with a lot of potential.
I weighed each one to see how much they will loose after a month or so. It will probably take a few years to completely season and dry. I intend to sell them green as well as seasoned.
Another nice log.


Even the small stuff has some potential.
Sealed and ready to be put up.

In the aviary drying and waiting for sales.


Saturday, June 8, 2013

The Haywire Klamper a cool new tool and walking stick fix

This refers to this post from some time back: walking stick or staff:hiking staff or stick  I did a modification to my walking stick. I had a piece of heavy duty bike tire held onto the bottom with a hose clamp. It looked really ghetto and crappy. I have been eyeing this tool lately: haywire klamper and its worth every penny. Here is a shot of before and after:


Before-the ugly hose clamp

Wired with the Klamper

back side view
I think the wire looks a heck of a lot better. If you are curious about this tool check out the you tube video posted on the sellers site. I was impressed and I can see a lot of uses for this critter. I first saw it on Survivalblog. Good stuff and made in the USA!!! I cleaned up the rubber around the tip so it looks a lot nicer. The rubber adds a good grip and also silences the stick so I don't startle wildlife when I'm out walking. I get some good photos if the animals aren't too upset.

Sunday, December 11, 2011

Cattail arrow shafts

Today I harvested five nice cattail, Typha latifolia stalks. They were just ripe for the picking since all the leaves were about dead and turning brown, These should dry out soon and then the fun begins. I like to use cattail because they are light and most times need little "tuning", such as straightening. Cattail arrows are really easy to make and being light they shoot at a fairly flat trajectory from my bow which is a 35 pound pull. I keep my arrows at 30" length more or less. I have a 28" draw so this size works best.
First thing I did was strip most of the excess junk off the shafts and now I have them bundled, butt to nose, so it makes an even bundle. This bundle will set on my book case to dry. It should only be a few weeks since its warm and dry in my home. When they are dry I'll post a DIT article on arrow making. I use my own stone points and try to use found feathers.
Heres a link to a wealth of material on cattail arrow making at Paleo Planet:http://paleoplanet69529.yuku.com/search/text/?q=cattail+arrows&orderby=created_at&forum=&submit=Search+Forum#.TuWPOOyCmuI
Heres a shot of the bundle, well over 3 feet in length so I have room to trim.

Tuesday, November 15, 2011

A few more block planes

I got a nice comment from DeanO, it can be read in the comment section at the bottom of the post, about collecting and using old planes. I have several that are considered collectibles and the difference is I bought them for use instead of shelf decorations. Why buy and use old tools? Because they were made very well and most of them are still in top working condition. Plus, the tools you buy today are either junk or very, very expensive. If you shop around you can pick good old tools up fairly cheap. All of my planes combined cost less than $50. total. You can pay a lot more, but careful shopping and patience will reward you.

I use these little planes for making tool handles, bows, arrows, atl atl's, and many other primitive/bushcraft kind of things. Its easy to keep the blades sharp and with patience and practice a person can adjust them to take off paper thin shavings.


This one is a "bull" or "rabbet" plane. It's about 3 1/2" long and has a 1" blade. This one is designed for sash and cabinet making. Its for cutting rabbets and to plane into blind corners. This one is similar to a Stanley #75. Its marked "H. BOKER & CO. GERMANY" in a circle on the iron

This is a cast iron block plane. Its 3 1/2' long and has a 1" blade. These come in a variety of styles and are common. This is a Stanley #101.

This is a combination wood and iron adjustable plane. Its called a "transitional". Its the biggest plane I own and measures 7 1/4" and has a 2" blade. This is for removing a lot of wood at once. I can turn out a good rabbit stick in half an hour with this plane. Manufacturer unknown.

Sunday, November 6, 2011

Case for the Mora 163 curved blade carving knife

I just bought a More #163 curved knife from Bens Backwoods. I like these type blades for carving spoons, bowls, trenchers, mugs, noggins, etc. It will go along well with my Mora #164 hook knife. Today I made a case from a piece of poplar wood.
Here's a link to the tutorial I did on the Mora #164 case: http://ronsprimitiveskills.blogspot.com/2008/09/crooked-knife-case-tutorial.html

First, I trace an outline of the blade and drill holes along its length.

This mark is on the side to show how deep to set the carbide drill/rasp depth for the blade.

Here the channel is drilled out. The hammer is to knock out the sawdust as I cut the channel.

These lines are where I'll cut the board.

Here's a shot of the tungsten carbide drill/rasp. These things are great for removing stock and other cutting & grinding chores.

A perfect fit.

Here's the lid. I glued on a piece of the same wood to the bottom just to even it out & make it look nice.

The lid & bottom is from a piece of basswood board 1/8" thick.

Here I made some indents with a round file into the lid and sides of the case.

The indents hold the ranger bands in place and make a nice safe home for this very sharp blade.
All I need to do is sand it a little to take off any sharp edges. This whole project took all of an hour to do.

Friday, November 4, 2011

Primitive bone knife in use

Here are a few shots of the bone knife I recently made in action. These will explain how I split the stinging nettle stalk for rendering the fiber.

Blade inserted after pinching stalk to split it. I use two pieces of wood slat to pinch the stalk.

starting the split

Halfway up the stalk.See how nice and even the stalk halves are? This will save a lot of fiber

A nice bundle of raw fiber. After it dries, I'll twist it into cordage. The skin falls off during this process. This is from 6 stalks.


This is what you're left with. The inside of the stalk in sections.

Close up of the blade.

Another close up.

The slats used for pinching the stalks. Just something thrown together.

Thursday, November 3, 2011

Latest artwork

Here's an owl handled scoop made  for my wife from a piece of white birch. The tree has been dead for two years and the land owner just had it cut down. This wood carves beautifully. I wash I had grabbed a lot more. This is used in the kitchen for scooping out rice, beans, etc from different containers.

6 1/2" long and 1 3/4" at widest


Primitive bone knife

Here's a nice little bone knife I threw together. I made it from bone for the purpose of helping me split those huge nettle stalks lengthwise. Doing it with just the hands was a bit of a task. I squeeze the stalks between two pieces of wooden slat. And then I use the bone blade to split them from base to tip. It works just fine and unlike a metal knife, the fibers aren't cut by the blade. The handle is a piece of cottonwood and the cordage is good old artificial sinew. I cheated and used some of my brand new Elmers Glue All Max which is Elmers answer to Gorilla Glue. That stuff is great! It set up over night and I couldn't budge the bone one bit. I like making primitive stuff but if I have modern materials like artificial sinew and modern glues, so be it. To me, its still primitive if only half of the stuff is stoneage. I could have used hide glue and some real sinew, but I save stuff like that for the really serious, showy things.

Blade is 2 1/2" total length 4 3/4"


made from a section of deer leg bone


project took about 30 minutes

Saturday, October 29, 2011

Revamped spoon or crooked knife case for the Mora

I did a little more work on my Mora crooked knife case. Theres a bit of confusion with these knives. Theyre called "crooked", "bent", "curved", and "spoon" knives by different dealers. I'll just call it either crooked or spoon. The old time crooked knife had a funny looking handle and the end of the blade was bent a bit. If you do a web search, you'll see for yourself. One great site that shows lots of photos is called Moctaugan and here's a link: http://www.mocotauganthebook.com/

Here are a few photos of the updated case I made. I just did a little material removal to make it a tiny bit lighter. In fact, it does look more interesting, yes?

link to tutorial: http://ronsprimitiveskills.blogspot.com/2008/09/crooked-knife-case-tutorial.html


Ax sheaths

Here are some shots of my ax sheaths and the "Our Own Hardware" single bit ax after hanging a new handle. The head is a bit worn and dented. I left it mostly as is after using my angle grinder to take off any excess mushrooming from the former owners bad use. I then used carbide paper to sand it down and take off any surface rust. This is one abused ax! I worked on the edge and its sharp enough for use now. It took a long time to even up the edge but its worth it. This head rings like a bell when tapped and is now a great cutter. I split some fire wood and had no trouble. If anyone knows the history of the "Our Own Hardware" company please let me know. They probably outsourced the manufacture of their tools and had companies like Plumb, Collins, True Temper, and other make them.

after scraping off varnish-this wood is quilted like tiger maple-beauty!


new sheath front


new sheath back


showing extra piece I glued inside to keep blade from cutting through


process of gluing extra piece in-this is how I clamp everything together-I just sized and cut the extra piece of leather

process of gluing extra piece in-you can see a bit of it sticking out on right-here the sheath is bent and clamped to let the rubber glue set

shot of the end of the sheath

another end shot-the rubber cement has set and I'm ready to cut to shape and rivet


I Made a similar sheath for my Norlund hatchet. Here's a shot: