Rons Primitive Skills

Custom Search

Search This Blog

Showing posts with label knives. Show all posts

Saturday, February 13, 2021

Pocket Bushman continued

 This is a short post to show the work I did on the Cold Steel pocket bushman. The first photo shows the knife with the lock removed. When i have to work on a knife with the blade still attached such as this one I double the masking tape on the cutting edge. This makes it fairly safe but caution is still important. I use the little antique soap dish for my parts holder. In it are the stud and screw for the lock along with the spring.


This next photo shows the lock bar after I stoned the edges that were dragging against the inside of the handle. It shows as a mirror polish in the photo. The edges of the long cutout were stoned, too. This removed any wire edge or roughness from the manufacturing process. I ran green rouge on a felt wheel over everything with the Dremel tool after I cleaned off the oil and left over stone material. After I got everything back together (a real chore in itself! That little spring is strong and you have to put it all back together a certain way) the knife opened and closed a bit easier. I had to tighten the screw on the blade as it was a tiny bit wobbly. That took care of it.


This last photo shows some of my coarser stones. These are from machinist supply companies. I use them to smooth up and polish knife and gun parts. If you know what you're doing you can make a revolver work so smooth it sings!


Friday, February 12, 2021

An old friend returns

 I bought my first Cold Steel Pocket Bushman in 2008. I think it had just come on the market. I was looking for a good sized folder that would withstand the elements. The pocket bushman has one of the toughest locks known to knifedom (is that a word? it is now) and I wanted something that would not let go and cause a serious accident. Its hard to do firstaid on yourself one handed in the woods when your good hand is bleeding like a stuck pig.  The locking system is called Ram Safe lock and was designed by Andrew Demko. I know of no better lock. The scandi grind of the blade was another selling point with me since I was a Mora fan and built several knives with Finnish Lauri blades. The steel was an unknown when this first appeared. Now you can find good info on the net about it. It is Thyssen-Krupp 4116 stainless which has been cryogenic tempered. This process slowly takes the hot blade blank down to -300 degrees F in liquid nitrogen and keeps it there for a bit. What this does is converts the austinite in the steel to martinsite. This makes for a tougher, longer lasting steel. Do a Wikipedia search of "cryogenic treatment of steel" if you want to learn more.

Anyway, I had this knife for a long time and one day I was closing it and the spring broke inside the handle. The knife became way too dangerous to use because that extremely sharp blade just flopped around. No good! I contacted the good folks at Cold Steel and they sent me a pack of 5 springs. I guess they figured this problem would require a lot of replacements. I sold the knife with the extra 4 springs and told the buyer about the breakage possibility and how to change out the spring. I was very sad because I especially liked this knife. It sharpened up to razor edge and held it for a long time and it was sturdy. I owned and carried it daily for about 5 years before the spring incident and had heard Cold Steel remedied the problem. However, I never got around to getting one of the newer versions.

Well, a few months ago I was watching a You Tube video featuring the pocket bushman.The video showed the old version and why it was breaking springs and how it was remedied. In the old  lock bar there was an indent that the spring could bend down into and weaken it till it snapped. Cold Steel simply did away with this and made it a straight piece of steel. So far there have been no problems and this has been the case for about 10 years or so.

So, I went to my favorite store and low and behold there's a brand new sealed in the box Cold Steel Pocket Bushman with my name on it! All for the princely sum of $21.00! I got it home and took it apart. The first thing I noticed was the straight locking bar. Good. I stoned the bar where it felt like it was rubbing against the inside of the handle. Then I got out the Dremel and some felt wheels and green chromium rouge. This did a fine polish on the places I stoned (I use extra fine Scotch machinist stones down to 1000 grit). I did some minor stoning on the edges of the handle to remove and sharpness. The first thing to be left off was that useless thumb stud. Why? This is a hard opening knife and a thumb stud is just plain useless. I realize some folks like to flick their Bics and knives but save it for the smaller blades, boys. I got everything back together and tightened the star screws down and away we went. The RamSafe lock was a lot easier to pull back. Now, this knife is big. 4 1/2" blade, 10 3/8" overall when open, the 420 stainless handle is one piece construction and is 5 7/8" long. The knife is lite for its size coming in at 6.6 ounces. It has a reversible belt clip and is surprisingly slim and hardly noticeable in the pocket. Noticeable as far as feeling any bulge in your pocket-the top of the knife extends a good inch above the end of the pocket clip and the paracord lock assistant is sure to draw questions. Now I can retire my poor old worn out G-96 folder. It is so loose I'm half afraid to open it.


Thursday, February 4, 2021

Condor Village Parang, Using the Fire Tube, and Wild Edible Plants

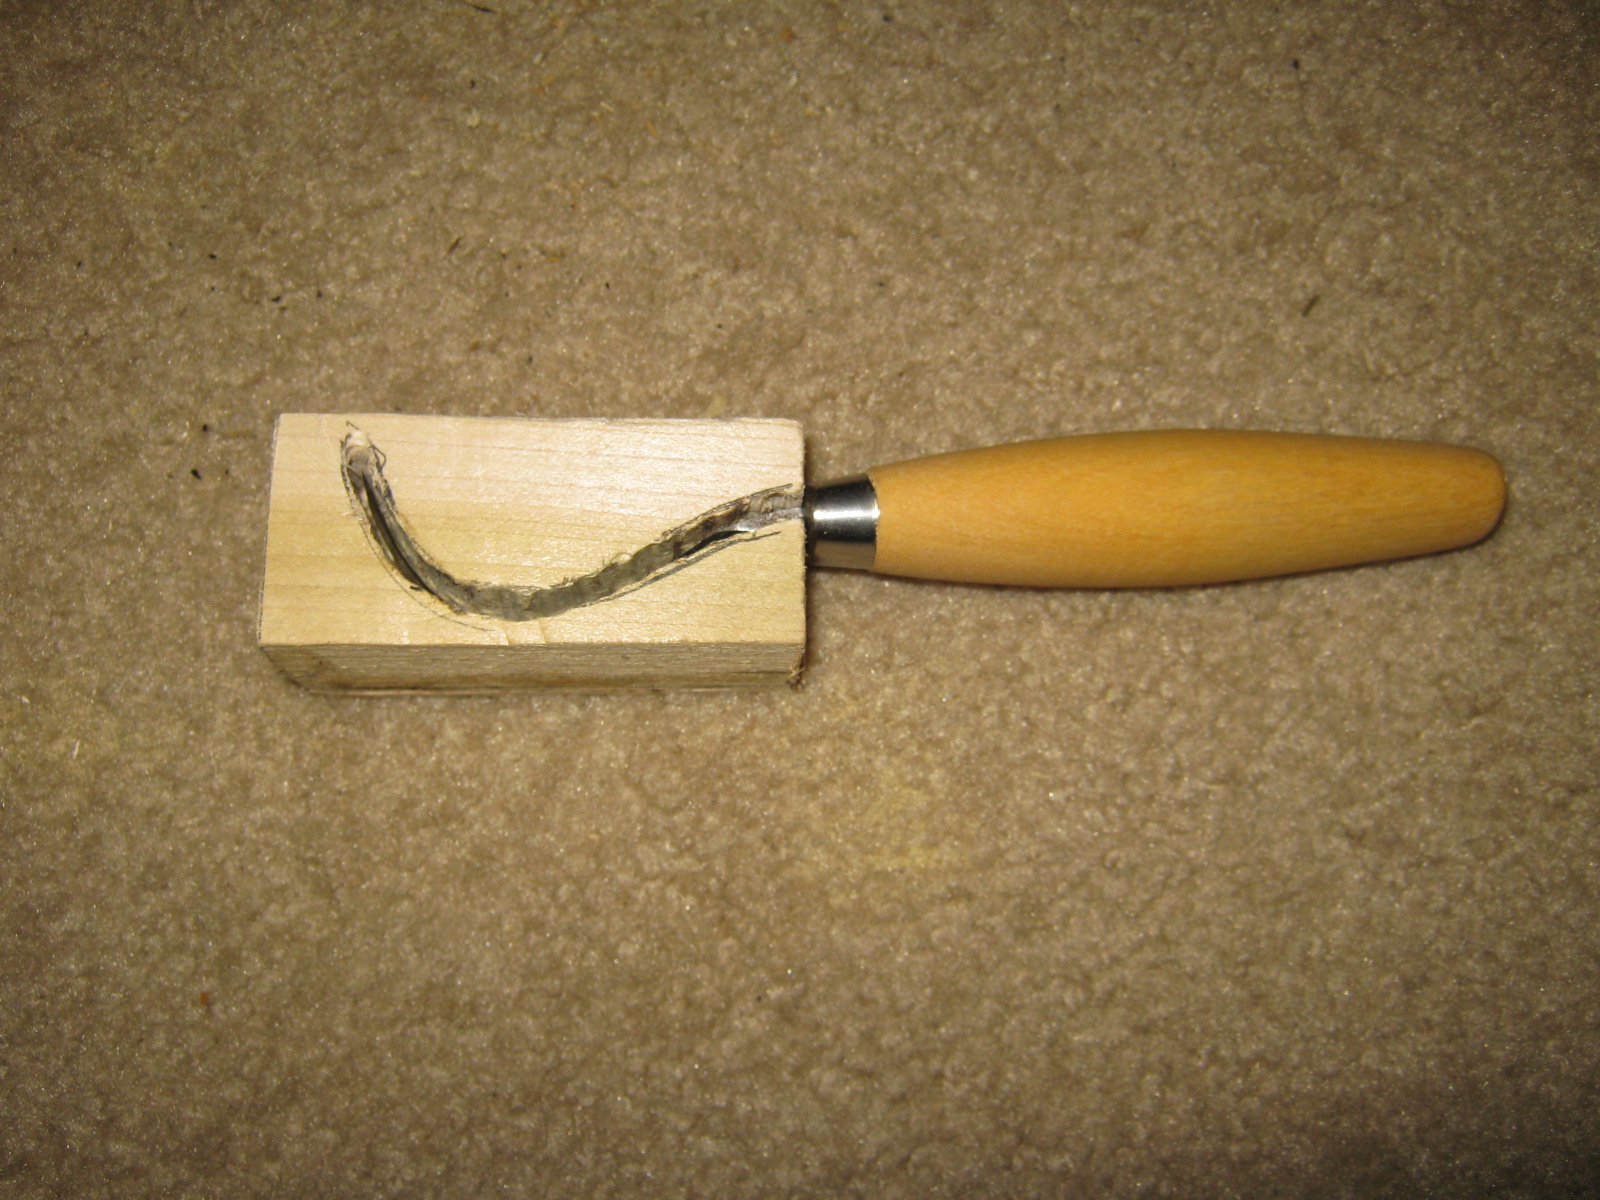
 The Condor Village Parang is a hit! I've been working along the fenceline for last few days and it has done a sterling job. I will have to work on the handle to make it a hair smaller-a 4-in-hand file will do the trick and a finish up with sandpaper. My only complaint about the blade is it is convex grind and I will have to remedy that. It still cuts great but I love a flat grind. I've made knives so I have the confidence that I won't wreck this fine tool. I have no complaints about the sheath. It looks like Condor has fixed the problems they had years ago. I see online where some folks have a problem with it being a slow draw blade. Well, this is a tool and not anything near a self defense knife. If you're worried about that then you sure as hell better be packing. My choice is my .357 magnum with 4 inch barrel and target sights. In my opinion you can't beat a revolver.

I've had a few questions about the fire tube. Here's how it works. You get a nice red glowing tip on the cotton with a spark from your ferro rod/sparker/flint and steel. Blow on the glowing ember and put the whole deal into your already prepared birdsnest of tinder. Blow on the nest and when you see thick smoke you should be close to combustion. Keep blowing gently until you see fire. All done. Now pull the rope/wick back into the tube and leave an empty space at least 1/4 inch. Put your finger over the end of the tube and in seconds the ember dies. Let it cool of for a bit and wrap everything backup and put it away. I am careful not to damage the charred end too much so that I can get a good light the next time I put steel to it.

I notice everything going on here at the farm and be it birds, critters or plants I have an idea of whats happening. This week I found several edible wild plants that are coming up. Its been a not so typical north Florida winter so far. We've had more than the usual freezing nights and frost. We've also had a lot of rain. The days are getting longer and it can get up to 70 during the day. This is bringing a lot of stuff to the surface. Here's what I've spotted so far:

shepherds purse  Capsella bursa-pastoris

cleavers Galium sp.

chickweed Stellaria media

henbit Lamium amplexicaule

Florida betony Stachys Floridana


 These two photos show shepherds purse. It gets its name from the shape of the heart shaped seed pods. Note long narrow leaves and tiny white flowers. The whole plant is edible. The lower photo also shows henbit, cranesbill geranium and chickweed.


 These two photos show cleavers. It has a square stem and gets its name from the tiny hooks all along the stem which make the plant stick or cleave to your clothing. Entire plant is edible but its best when young and tender. Older plants can be boiled.


 These two photos shoe chickweed. The first photo has chickweed and henbit and the second two species of chickweed. The whole plant can be eaten.


These two photos show henbit. In the first it is associated with chickweed and cranesbill geranium. The henbit has the tall square stems. The second photo has a good example of how easy it is to confuse plants. The cranesbill geranium has deep grooves in the leaves and small stems whereas the henbit has rounded scalloped leaves and bigger square stems. Henbit is edible raw when young and the older plants need to be boiled and rinsed.


 These three photos show Florida betony. It has square stems and is in the mint family. The first two photos show the plant structure and the leaves while the third photo shows immature roots and tubers. Its also called rattlesnake radish for obvious reasons. In the mid to late summer these tubers get up to five inch's long and its easy to gather a latge quantity. The roots and tubers are eaten raw and have a unique taste, some say like celery. The only problem with this plant is the fact that it is one of the most fast spreading and invasive plants in Florida. It ranks right up there with wandering jew, mexican poinsetta, and Bidens alba or spanish needles. I've batted them all. They're winning.


Standard cautionary notice!!! Never eat a plant you find in the wild without 100% positive identification. The wrong plant can kill you. Period. There are a ton of books out there these days that will lead you in the right direction. Here are the ones I use:

Botany in a Day by Thomas Elpel-super good book to teach you plants identification!

Edible Wild Plants of Eastern North America by Fernald and Kinsey-excellent book with drawings and uses.

Peterson Field Guide to Edible Wild Plants Eastern/Central North America by Peterson-one of the best with excellent illustrations and photos as well as uses.

Wild Edible Plants of Western North America by Kirk. I depended on this book when I lived and traveled in the western US. It has great drawings and descriptions as well as habitat and uses. Most of the plants are also found nation wide.

Of course there are a number of great books that I haven't mentioned but you can check them out on Amazon and see if its something you think you can use. Just do a search for "edible wild plants, foraging, wildcrafting".

Wednesday, January 27, 2021

Condor Village Parang

I sprang for the parang. Yuck yuck. After the fiasco with the Kershaw useless piece of garbage I bought a real parang-the Condor Tool & Knife Village Parang. I paid $73 plus change at Amazon, free 4 days shipping, and its from the Condor Tool & Knife store so I'm getting the real deal. This is the cheapest I could find it anywhere. The sale price at Amazon was $68.65 so the rest is about $5 in tax's. If you want good gear you have to pay for it. The Village parang is a solid tool weighing in at 1 pound 9 ounces. The blade is 12 inch's long with a 10 inch cutting edge, with 6 inch handle its 18 inch's overall and the blade is 3/16 inch thick.  It is full tang and has a hardwood handle pinned to the blade with heavy brass pins. There is also a brass lined lanyard hole at the back of the handle. It comes in a leather sheath and I remember seeing some You Tube videos about the sheath being shoddy. These were made back around 2013 or so and I hope Condor got the message and remedied the problem. There are a lot of reviews on You Tube but most are pretty boring. I enjoy the videos put out by Paul Coakley as Junglecrafty and a short one by the master of the parang, Ray Mears. All of Pauls videos are well done and you learn a lot. Much better than some young buck wailing on a stump with a plastic handled parang or golok or an 18 inch bladed machete. Of course, I enjoy all of Ray Mears videos and sometimes I catch a few Les Stroud shows. Those are my favorites. As a side note you can get all of Ron Hood and John McPherson's videos on Internet Archive. https://archive.org/search.php?query=woodsmaster&and[]=mediatype%3A%22movies%22 for Ron Hood and https://archive.org/details/primitive_wilderness_skills for John McPherson. John and his wife Geri are the authors of two of the best primitive skills books out there, Naked Into The Wilderness 1 & 2.

I'll be using the parang around the farm and in my travels. I'll be sure to post anything interesting about this quality tool. Here are some images of the CT&K Village Parang.


Sunday, January 24, 2021

Downsizing

 Next month I will be 69. When you get as long in the tooth as I am, you start to look at all the stuff you own and say "do I really need all this"? A few years back I had a big clean out and got rid of a lot of knives, hatchets, axes, and camping gear. Now I am down to just a few old reliable knives, 2 hatchets and a 3 pound felling ax that never leaves the farm. I kept my Bahco 7" folding saw and my collapsible buck saw. The military pocket chain saw is in my BOB. I whittled away at all the fire making gizmos and a host of other gear. I figure if its going to weigh me down, I don't need it. Let someone else take care of it. I don't use a tent. I like my nylon tarps. I usually use a bedroll instead of a sleeping bag. My backpack is a medium sized one. As for cooking gear I have a stainless wide mouth thermos of 1 liter capacity and my trusty Zebra kettle. I always traveled light anyway and lighter is better. On my last big adventure I carried my Norlund, my Bahco and my Kukri. I did fine. I see some folks out on the trail with everything but the kitchen sink. All kinds of stuff hanging from their packs and belts. That would take most of the fun of woods running away for me.At one point I owned several very good compass's. Brunton, Silva, you name it. I kept the British Army issue one. A Silva, I believe. I have a little Brunton keychain compass for backup. Thats about all I need. My fire kit contains a big ferro rod I got from Going Gear and a Micro spark wheel from UST. I really like Coughlans emergency fire tinder. It is similar to Spark-lite Tinder Quick and works great. I only need a pea sized piece to get a fire going. I bought about six packages of this stuff 10 years ago and have plenty left. It doesn't get old. I can make fire with a bow drill or hand drill in my sleep and I leave them where I used them. The fire kit is for bad weather or emergencies. I do carry a small flint and steel kit in my back pocket to start fires here on the farm. Its just something I do for fun. The whole outfit weighs maybe 3 ounces. The truth is its easy to accumulate a lot of stuff you think you may need someday. Well, someday is here already for this pilgrim.

Saturday, January 23, 2021

The Kershaw Camp 12 Parang


This is something I did a lot of research on so I dropped a grand total of $31.96 to eCop! on Amazon. It arrived in 5 days. Sweet. Now to put it through its paces. I'll use this around the farm here, mostly for brush clearing. I'll give a full report after this thing gets a good workout. I'm looking to buy a similar sized parang for my bush kit and the Condor Village parang looks like it could fill the spot. Here are the specs for this tool:

There is a certain way you cut with these, there are a few good videos on you tube showing this technique, and it can make working with one safe and less tiring.

Wednesday, June 12, 2013

Gerber Dime

I admit it. I am a gearhead. I love to try out new toys and see if its worth keeping. The Gerber Dime is one of those things that intrigued me from the moment I laid eyes on it. I have my venerable old Gerber pliers from way back in 1992, the black ones, and they have never failed me. I am on the second sheath for those puppies. What I like about the Dime is its size. I wanted a handy little set of pliers for my key chain. These are just right for light weight work and I needed a thin set of pliers for some of my electronic repairs and do-dads. The pliers are only 1/8" thick, perfect for hard to reach places in most modern, cramped, electronics compartments. The Dime answered the requirement. The bonus is all the tools they managed to pack in this 2 3/4" device. If you look at the pictures you will note: long nose pliers with wire cutters, scissors, tweezers, bottle opener, file, Philips screw driver, regular screw driver, knife blade and a package opening blade which works really well for opening those damn plastic packages and some small carving work, too. As you can see, it fits just fine on my key chain. The only thing that I don't need on it is the bottle opener, but I'm sure there can be another use for it down the road. Fit and finish is A+ and all the blades are tight and no play at all. The scissors are kind of a pain to use because the handle that's not attached to the body has to go into the tools slot to close them fully but I just look at them as a bonus. The tweezers are well hidden. If you don't know where to look you won't find them. I've pulled them out in the last photo. One other nice thing about the design is the tools can be used with the pliers closed. The only tools that can be used with the pliers open is the Philips screwdriver/file, the bottle opener and the tweezers. I give it an 8 out of 10 rating because of the lack of printed instructions (which would help to find the darn tweezers!) and the bottle opener. Just my opinion. Still, I feel they are worth the $15 I paid for them.


A perfect addition to my keychain.


The tweezers exposed! Well hidden and not easy to find unless you're lucky.

Sunday, November 6, 2011

Case for the Mora 163 curved blade carving knife

I just bought a More #163 curved knife from Bens Backwoods. I like these type blades for carving spoons, bowls, trenchers, mugs, noggins, etc. It will go along well with my Mora #164 hook knife. Today I made a case from a piece of poplar wood.
Here's a link to the tutorial I did on the Mora #164 case: http://ronsprimitiveskills.blogspot.com/2008/09/crooked-knife-case-tutorial.html

First, I trace an outline of the blade and drill holes along its length.

This mark is on the side to show how deep to set the carbide drill/rasp depth for the blade.

Here the channel is drilled out. The hammer is to knock out the sawdust as I cut the channel.

These lines are where I'll cut the board.

Here's a shot of the tungsten carbide drill/rasp. These things are great for removing stock and other cutting & grinding chores.

A perfect fit.

Here's the lid. I glued on a piece of the same wood to the bottom just to even it out & make it look nice.

The lid & bottom is from a piece of basswood board 1/8" thick.

Here I made some indents with a round file into the lid and sides of the case.

The indents hold the ranger bands in place and make a nice safe home for this very sharp blade.
All I need to do is sand it a little to take off any sharp edges. This whole project took all of an hour to do.

Tuesday, August 9, 2011

Sharpening tools and methods-an update

Since I posted my last article about sharpening knives, I've come across some more information. There are a lot of new steels out there for knife makers. Some of them are pretty hard such as S30V and ball bearing steel to name a few. These new wonder steels need a different breed of sharpeners other than the good old carborundum stone.

For these new types of steel I usually use diamond followed up by a very fine ceramic rod. Then a few swipes on the strop and its good enough. Diamond sharpeners are shown in photo 4. These are made by EZ Lap and DMT as well as other companies. The fold-up Camillus at the bottom of photo 4 is a combination of diamond hone, carbide wheel sharpener, and ceramic sharpener all in one package. Camillus is now a defunct company. The ceramic sharpener in photo 5 is a Lansky and has both fine and extra fine sticks. It is one of my favorite sharpeners. Its set up to do 20 degree and 25 degree angles on blades.

In the first two photos are shown natural quarried stones from Arkansas. These are called Arkansas stones and are a form of extremely hard high temperature quartzite mix called novaculite. These are very good sharpeners for high carbon and most stainless steel. The odd looking one that resembles a wedge is called a slip and is used for sharpening carving chisels and gouges. It is hard Arkansas. This one is a Norton HS4 and is very expensive. The small one is a translucent Arkansas and when you get into the bigger stones of this variety, you will pay a lot of money. The large gray stone in the wood holder is a hard Arkansas. These run anywhere from $5 to $25 each. This came in a leather sheath and is marked Frosts.

In photo number 3 are some man made stones. These are either silicon carbide or carborundum and aluminum oxide or India stone. The top one is a Norton carborundum twin grit, medium and fine. The middle one has no brand and is an India stone, twin grit, medium and fine. The bottom one is a Norton India stone, twin grit, medium and fine. These are always used with honing oil or water. Oil works best in my opinion. The oil keeps the tiny particles of knife blade floating so that they don't clog the stone up. 5 weight motorcycle fork oil is great for honing as is 3 in 1 oil and a few others. I know a few old timers who use kerosene. These all run around $20 and if you want quality that lasts, buy a good name brand. There are cheap stones just like these and they will wear out to a useless piece of junk in a month. You get what you pay for. I bought these 3 man made stones and the Norton slip stone on eBay for all of $10. There are a lot of bargains out there and its worth searching.

Photo number 6 shows a sharpening steel, pocket size. This is just like the big kitchen ones. I use this on my pen knives and a few of my smaller fixed blades for a quick edge touch up in the field. Its as big as a fountain pen and takes up practically no room. It was made by Forschner in Sheffield, England. Good steel. I bought it from Smoky Mountain Knife Works.

The last photo shows some of my strops. The top one is coated with jewelers or red rouge. It is great on all carbon steel blades. The middle one has a coating of green chrome oxide. This is an aggressive cutter and works good on stainless and harder steels. It will make carbon blades razor sharp. The bottom is my pack strop. It has a light application of green chrome oxide.


Thats about it for my sharpening tools. I put a link to the older article I did on the subject for reference.


photo 1

photo 2

photo 3

photo 4

photo 5

photo 6


photo 7


http://ronsprimitiveskills.blogspot.com/2009/06/sharpening-tools.html

Wednesday, August 3, 2011

No-sew sheath for the Condor Golok

I have always liked to make sheaths this way. No sewing. Just good old copper belt rivets and burrs. Why are they called belt rivets? Back before electric motors were common and even steam was still being used, machine tools were run from a central power station and all the drills, lathes, milling cutters, etc were hooked to it with long leather belts. There is no critter that has a hide big enough to make a 30 foot belt so they were craftily spliced from various lengths with these copper belt rivets. The hide was the top grade, thickest part from the center of the cows back. I remember my grandfather had a huge machine shop back in the 50's and it was all belt driven. He inherited it from his father so it must have dated from the early 1900's. A huge electric motor ran everything. He had a big roll of this belting and when needed he would cut off the appropriate length. This stuff didn't wear out very fast. Every so many months he would take a gallon can of neatsfoot oil and with a paint brush give each belt a good coating. There was an art to adjusting the speed of the main belt bar and each individual machine through different pulleys attached to the machines. I watched him cob a belt together one day and the simplicity of the process has stayed with me all these years. If you look at some of my other knives posted on this blog you'll see this style of sheath is a recurring theme.

I made this sheath to be belt carried and to have some attachment points for carrying it on my back packs. All thats left to do is give it a good coating of beeswax and its all done.