Rons Primitive Skills

Custom Search

Search This Blog

Showing posts with label carving. Show all posts

Tuesday, December 10, 2013

Green Carving Wood-Yaupon

Back in the middle of November I was clearing some of the brush and small trees from around the property. I took down the largest yaupon holly tree, 
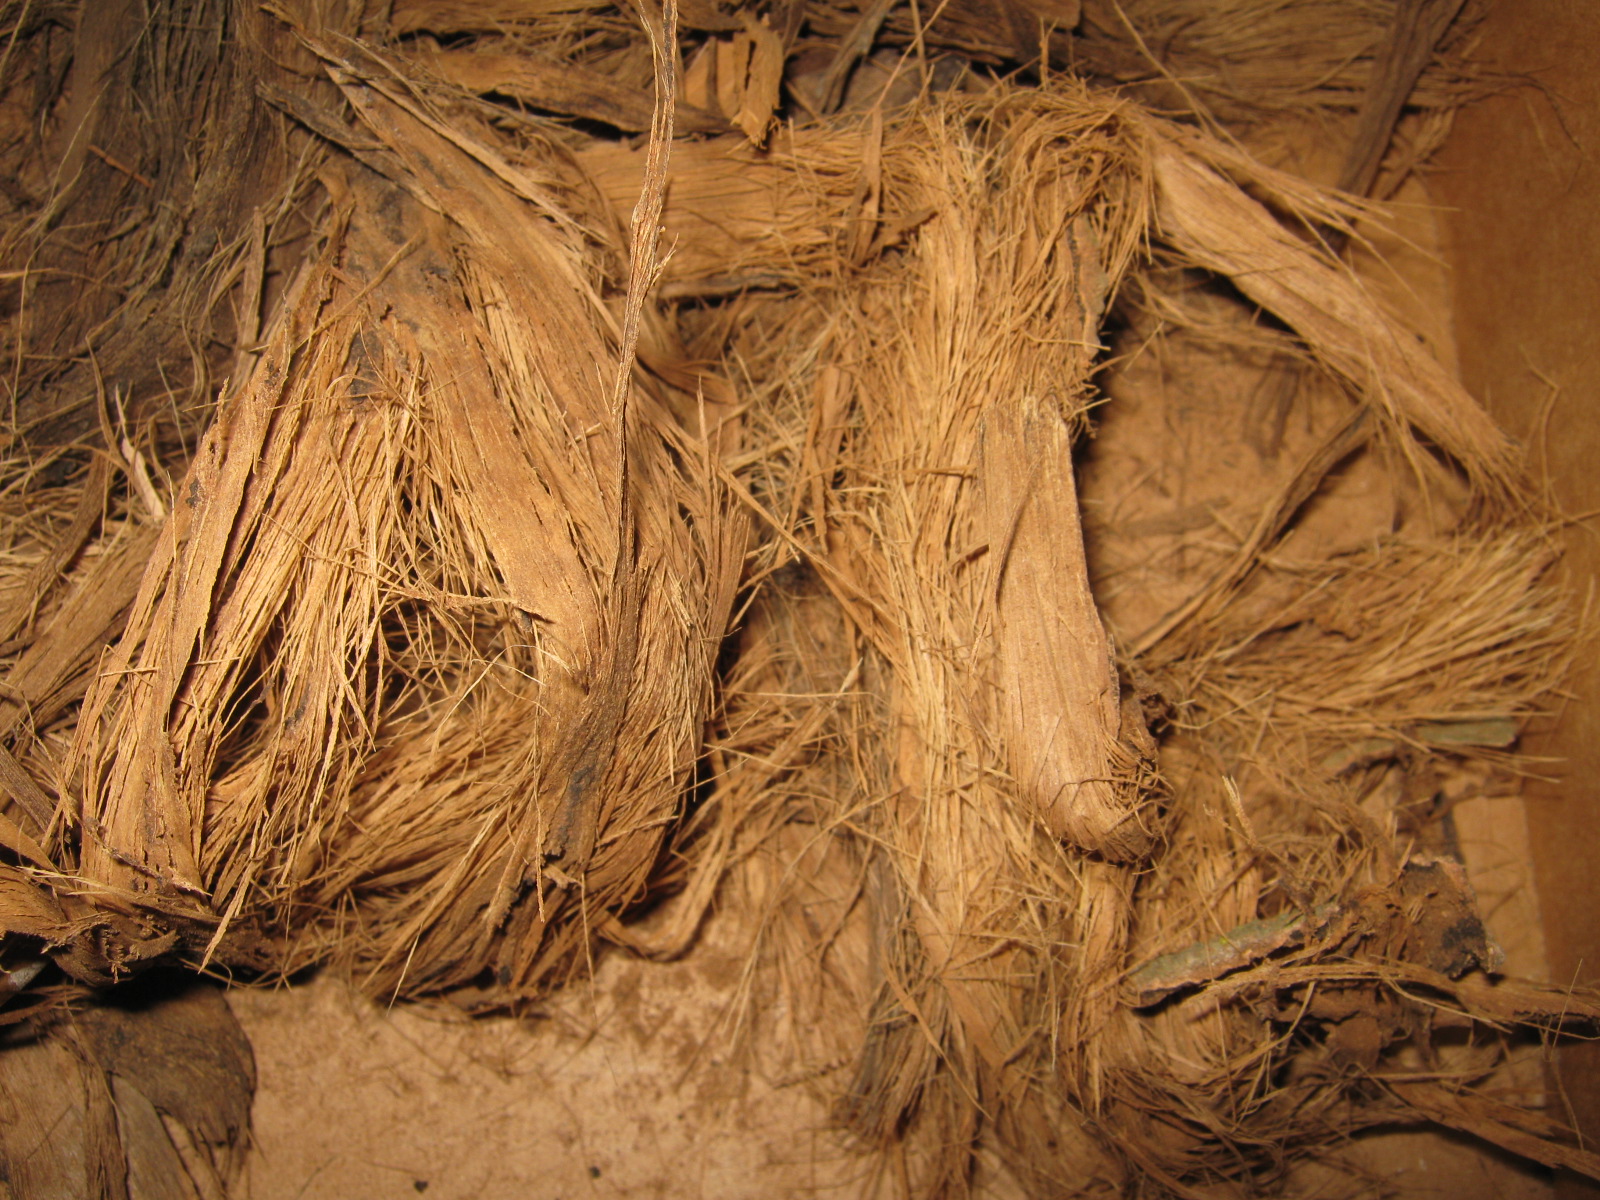
Ilex vomitoria, I have yet seen. It was 20 feet tall and had a diameter at the base of 5 inches. I decided to cut it into 2 foot sections and seal the ends with latex paint for future carving material.  The reason for sealing it is the habit of all holly trees to check and crack like crazy if they dry too fast. Its such a dense and beautiful wood and I don't want to waste an inch.
Yaupon isn't scarce here. I can count 100 of his cousins in 10 minutes within 20 feet of the stump. I have a few other holly trees in line for harvesting and I believe they are American holly, Ilex opaca. None of them are as large as the yaupon tree I took down, most being at the most 3 inches in diameter. These, too, will get the same treatment as the yaupon. I let the yaupon log air out and dry a little in the shade for about a month before I cut it and sealed it. I then moved the wood to our aviary to keep it out of the weather and give it a cool, shady place to dry. This wood is used for turning, inlay and carving. I plan to make a lot of spoons and utensils with some of this wood. A search for green wood carving has show quite a few pages and a lot of info on the subject. Looks promising. Here's a link that mentions yaupon holly in a wood working forum. Its the last post at the bottom: http://lumberjocks.com/topics/8709

Here are some photo's.


2 foot sections fresh cut & ready to treat

3 1/4" should be plenty big enough to get some good carvings. This wood will yield a lot of spoons and kitchen utensils as well as other good things!
Nice clean wood with a lot of potential.
I weighed each one to see how much they will loose after a month or so. It will probably take a few years to completely season and dry. I intend to sell them green as well as seasoned.
Another nice log.


Even the small stuff has some potential.
Sealed and ready to be put up.

In the aviary drying and waiting for sales.


Wednesday, June 12, 2013

Gerber Dime

I admit it. I am a gearhead. I love to try out new toys and see if its worth keeping. The Gerber Dime is one of those things that intrigued me from the moment I laid eyes on it. I have my venerable old Gerber pliers from way back in 1992, the black ones, and they have never failed me. I am on the second sheath for those puppies. What I like about the Dime is its size. I wanted a handy little set of pliers for my key chain. These are just right for light weight work and I needed a thin set of pliers for some of my electronic repairs and do-dads. The pliers are only 1/8" thick, perfect for hard to reach places in most modern, cramped, electronics compartments. The Dime answered the requirement. The bonus is all the tools they managed to pack in this 2 3/4" device. If you look at the pictures you will note: long nose pliers with wire cutters, scissors, tweezers, bottle opener, file, Philips screw driver, regular screw driver, knife blade and a package opening blade which works really well for opening those damn plastic packages and some small carving work, too. As you can see, it fits just fine on my key chain. The only thing that I don't need on it is the bottle opener, but I'm sure there can be another use for it down the road. Fit and finish is A+ and all the blades are tight and no play at all. The scissors are kind of a pain to use because the handle that's not attached to the body has to go into the tools slot to close them fully but I just look at them as a bonus. The tweezers are well hidden. If you don't know where to look you won't find them. I've pulled them out in the last photo. One other nice thing about the design is the tools can be used with the pliers closed. The only tools that can be used with the pliers open is the Philips screwdriver/file, the bottle opener and the tweezers. I give it an 8 out of 10 rating because of the lack of printed instructions (which would help to find the darn tweezers!) and the bottle opener. Just my opinion. Still, I feel they are worth the $15 I paid for them.


A perfect addition to my keychain.


The tweezers exposed! Well hidden and not easy to find unless you're lucky.

Wednesday, December 7, 2011

Tinder gathering

I was out by the St Johns river the other day and finally got around to gathering some cottonwood inner bark. This is from a dead standing tree. Even still, its moist because of all the dew and frost lately. I spread it out in a soda flat to dry next to the fireplace. This stuff is great for flint and steel with char cloth. It takes flame quickly. I shred it fine and I hear if you powder it you can get a glowing coal from a ferro cerium rod. Some folks have made cordage from the live inner bark. I can see how that would work, this stuff being so fibrous. Carvers look for the thick bark, 2-6" thick, for carving material. A small chunk of bark makes a very good hand hold for bow drill fire making. I have one that is at least 10 years old and has no wear but a nice shiny polish where the spindle fits.
I like to store up nice, dry tinder for my trips into the boonies. I have those little snack size zip locks with birch bark, cottonwood inner bark, cedar/juniper inner bark, and some other natural tinders I've gathered. I throw two or three of these into my pack and no matter what the conditions, I have dry tinder.


Another tinder I gathered at the same place is a half dozen shelf fungus from a dead cottonwood log. These are polypore fungus but I don't know what species. I've been told they are good for catching spark. I can't wait till they are bone dry and I can experiment. They were dead and dry when I found them but they still have some moisture from the damp weather. They, too, are drying by the fireplace. I'll post my results with this experiment and any further information I discover.


Friday, November 11, 2011

Refurbishing a vintage wood working plane

I own and use a variety of small planes in my carving and primitive woodworking projects. Nothing makes for a nice smooth ax or adze handle than a sharp plane. I use them for a lot of different jobs. I recently bought an X-Acto #29 plane on eBay for a couple bucks. It was in good shape when I received it but there was some surface rust and the blade was badly nicked. Obviously it sat in a dusty corner for many years. These were made in the 1940's up until the 90's. The latest X-Acto plane doesn't look at all like these. I don't know if they switched to plastic in later years, but the old ones like this were made from Bakelite, one of the first plastic materials. These planes came in some of the better kits and in later years I believe they were sold separately.

First off was to take the plane apart and put some 320 grit carbide paper to the sole and get rid of the rust. Fortunately, it is just a mild case of surface rust from setting around neglected for many years. Next I used some lite machine oil on a rag and wiped the surface of the plane body. This brought it back to a nice shine. Other than the Bakelite body, the sole and iron are made of steel. The cap is some kind of nonmagnetic alloy like pot metal and the adjusting screw is brass. I threw the iron away because I managed to pick up a killer deal on about 20 brand new ones quite a while back. They're still in the original wrappers and marked X-Acto #29 Made in U.S.A. That's part of the reason I wanted a #29 plane.

As it came in the mail. 3 3/4" long and the iron or blade is 15/16" wide. Body is 1 1/2" wide.

All the parts. The iron is a new one.

The sole after a good sanding. I haven't done the ends yet.

A nice shiny polish on the sole.
End view.


Mostly finished and put back together.

The more common cast iron mini block plane. These were made by Record, Stanley, and many others and are easy to find. They come in a lot of different shapes and styles. This one has only the marking "BL". 3 5/8" long by 1 1/4" wide. Iron is 1" wide. This one was made by Great Neck Tools.

Oh, and happy Veterans Day everyone!

Sunday, November 6, 2011

Case for the Mora 163 curved blade carving knife

I just bought a More #163 curved knife from Bens Backwoods. I like these type blades for carving spoons, bowls, trenchers, mugs, noggins, etc. It will go along well with my Mora #164 hook knife. Today I made a case from a piece of poplar wood.
Here's a link to the tutorial I did on the Mora #164 case: http://ronsprimitiveskills.blogspot.com/2008/09/crooked-knife-case-tutorial.html

First, I trace an outline of the blade and drill holes along its length.

This mark is on the side to show how deep to set the carbide drill/rasp depth for the blade.

Here the channel is drilled out. The hammer is to knock out the sawdust as I cut the channel.

These lines are where I'll cut the board.

Here's a shot of the tungsten carbide drill/rasp. These things are great for removing stock and other cutting & grinding chores.

A perfect fit.

Here's the lid. I glued on a piece of the same wood to the bottom just to even it out & make it look nice.

The lid & bottom is from a piece of basswood board 1/8" thick.

Here I made some indents with a round file into the lid and sides of the case.

The indents hold the ranger bands in place and make a nice safe home for this very sharp blade.
All I need to do is sand it a little to take off any sharp edges. This whole project took all of an hour to do.

Friday, November 4, 2011

Wood carving goodies in the mail!

I just went to the mail box and gathered my new toys! I bought a Two Cherries carvers scorp, another Mora half curve knife from Bens Backwoods and a whole lot of X-acto type blades on eBay. Oh, and a nice little ceramic sharpening rod for my carving tool box. The Two Cherries scorp is 7 1/2" long and the opening is right at 1" across. I managed to find one on sale for $40. They usually run around $50 to $60. This one came from http://www.craftsmanstudio.com/html_pc/L5152275.htm Its top quality German made and very sharp! The Personna blades were in a quantity package deal. I think I'll make up a nice carving knife kit in the future using these blades. They fit the X-acto #2 and #6 handle just fine. The Mora #163 is one I've been wanting to get for quite a while but more important things kept popping up. Heres a link to better describe the #163: http://www.bensbackwoods.com/servlet/Detail?no=92
I bought the ceramic rod from Bens for all of $1.98. Looks like I'll be making a lot more shavings this winter.

Top to bottom: Two Cherries scorp, Personna USA blade, ceramic rod, and Mora #163

Thursday, November 3, 2011

Latest artwork

Here's an owl handled scoop made  for my wife from a piece of white birch. The tree has been dead for two years and the land owner just had it cut down. This wood carves beautifully. I wash I had grabbed a lot more. This is used in the kitchen for scooping out rice, beans, etc from different containers.

6 1/2" long and 1 3/4" at widest


Saturday, October 29, 2011

Revamped spoon or crooked knife case for the Mora

I did a little more work on my Mora crooked knife case. Theres a bit of confusion with these knives. Theyre called "crooked", "bent", "curved", and "spoon" knives by different dealers. I'll just call it either crooked or spoon. The old time crooked knife had a funny looking handle and the end of the blade was bent a bit. If you do a web search, you'll see for yourself. One great site that shows lots of photos is called Moctaugan and here's a link: http://www.mocotauganthebook.com/

Here are a few photos of the updated case I made. I just did a little material removal to make it a tiny bit lighter. In fact, it does look more interesting, yes?

link to tutorial: http://ronsprimitiveskills.blogspot.com/2008/09/crooked-knife-case-tutorial.html


Friday, January 30, 2009

Wood carving

Here are some photo's of an Owl I carved about 2 years ago. Wood carving helps improve manual dexterity and was actually taught as "manual training" in schools during the 1800's through early 1900's. Do a search at Internet Archives http://www.archive.org/details/texts for "Sloyd" or "Slojd" and you'll see. Notice the style of knife used. Its a Scandi very similar to a wood handled Mora. Matter of fact it probably is a Mora. Basically, the more you practice carving the better and faster you become. In a survival/bushcraft perspective, knocking out a spoon, tent peg or trap part in a few minutes is a valuable skill.

These knife illustrations are from a few of the books available for free download from the archive.
Here are a few titles;
Barter-Woodwork (the English Sloyd)
Hoffman-The Sloyd System of Wood Working
Larson-Elementary Sloyd & Whittling
Salomon-The Teachers Hand Book of Slojd
Schwartz-Sloyd
Sutcliffe-Hand Craft


The owl is carved from a growth that forms on mesquite trees when they are attacked by mistletoe. They look kind of like a club and usually stand straight up on the limb. Unfortunately a lot of mesquite trees are dying from the excess mistletoe growth. I read somewhere that the Indians harvested the mistletoe from the trees. Since this is no longer done the trees are in danger.