Rons Primitive Skills

Custom Search

Search This Blog

Showing posts with label tutorial. Show all posts

Wednesday, January 15, 2014

Chinese water chestnuts propagation

I received a package from a very decent person here in Florida. It contained 10 corms of the Chinese water chestnut, Eleocharis dulcis. It will grow quite well here in Florida and I am zone 8a/8b depending on the weather. I am rather enjoying all the exotic (to me, anyway) plants, both native and cultivated, here in sunny Florida. My fiance, Annie, is an ardent Florida gardener and has taught me a lot about southern gardening which is completely different from anything I have ever experienced up north or out west. Here there is no "end" to the growing season as far as gardens go. The only problem we have had was a few nights of frost so far. We have radishes, carrots, and beets in the ground and a very healthy stock of tomatoes and peppers in trays getting ready for transplanting. We use only heirloom and non GMO, non hybrid organic seeds. These first photos show how I planted the water chestnuts in a temporary container that I bring in every night. I will transplant them to a kiddie wading pool after the last frost passes. If you are interested in these delicious plants do a search for Chinese water chestnuts and you'll see they are not hard at all to propagate. I would highly encourage anyone with an interest in exotic plants and southern gardening to go to http://www.floridasurvivalgardening.com/ This is a great site and has tons of interesting information. David is an expert on southern gardening.

The corms-some are sprouting already.

Another shot of the corms on our planting table.

The dirt-a mix of sandy loam and a bit of the local pipe clay.

Here's how much dirt I put in the bucket. Its a 2 1/2 gallon bucket.

Here are the corms before covering.

A closeup of the uncovered corms. I will leave the sprouts exposed above the surface of the dirt.

I use this specially modified bucket to water things that need the least disturbance to the soil. Its also very handy for draining wet potting soil.

Here's the bucket and contents before water is added.

We have several containers on the property to collect rain water. In the summer these can fast become mosquito heaven so we keep them covered.

Filling the watering bucket.

Adding the water to the soil with corms.


This shows the soil with about 6 inches of water over the soil.

The complete project-setting in the sun with our seedlings on the starter tray racks.

This and the next two photos are shots of our starter trays with very happy seedlings getting acclimated.

Peppers, cabbage and tomatoes.

The racks-recycled shelving units from a retailer long gone. The white ones are adjustable for shelf distance. This is a southern exposure and gets a good dose of sunshine all day.

Sunday, November 6, 2011

Case for the Mora 163 curved blade carving knife

I just bought a More #163 curved knife from Bens Backwoods. I like these type blades for carving spoons, bowls, trenchers, mugs, noggins, etc. It will go along well with my Mora #164 hook knife. Today I made a case from a piece of poplar wood.
Here's a link to the tutorial I did on the Mora #164 case: http://ronsprimitiveskills.blogspot.com/2008/09/crooked-knife-case-tutorial.html

First, I trace an outline of the blade and drill holes along its length.

This mark is on the side to show how deep to set the carbide drill/rasp depth for the blade.

Here the channel is drilled out. The hammer is to knock out the sawdust as I cut the channel.

These lines are where I'll cut the board.

Here's a shot of the tungsten carbide drill/rasp. These things are great for removing stock and other cutting & grinding chores.

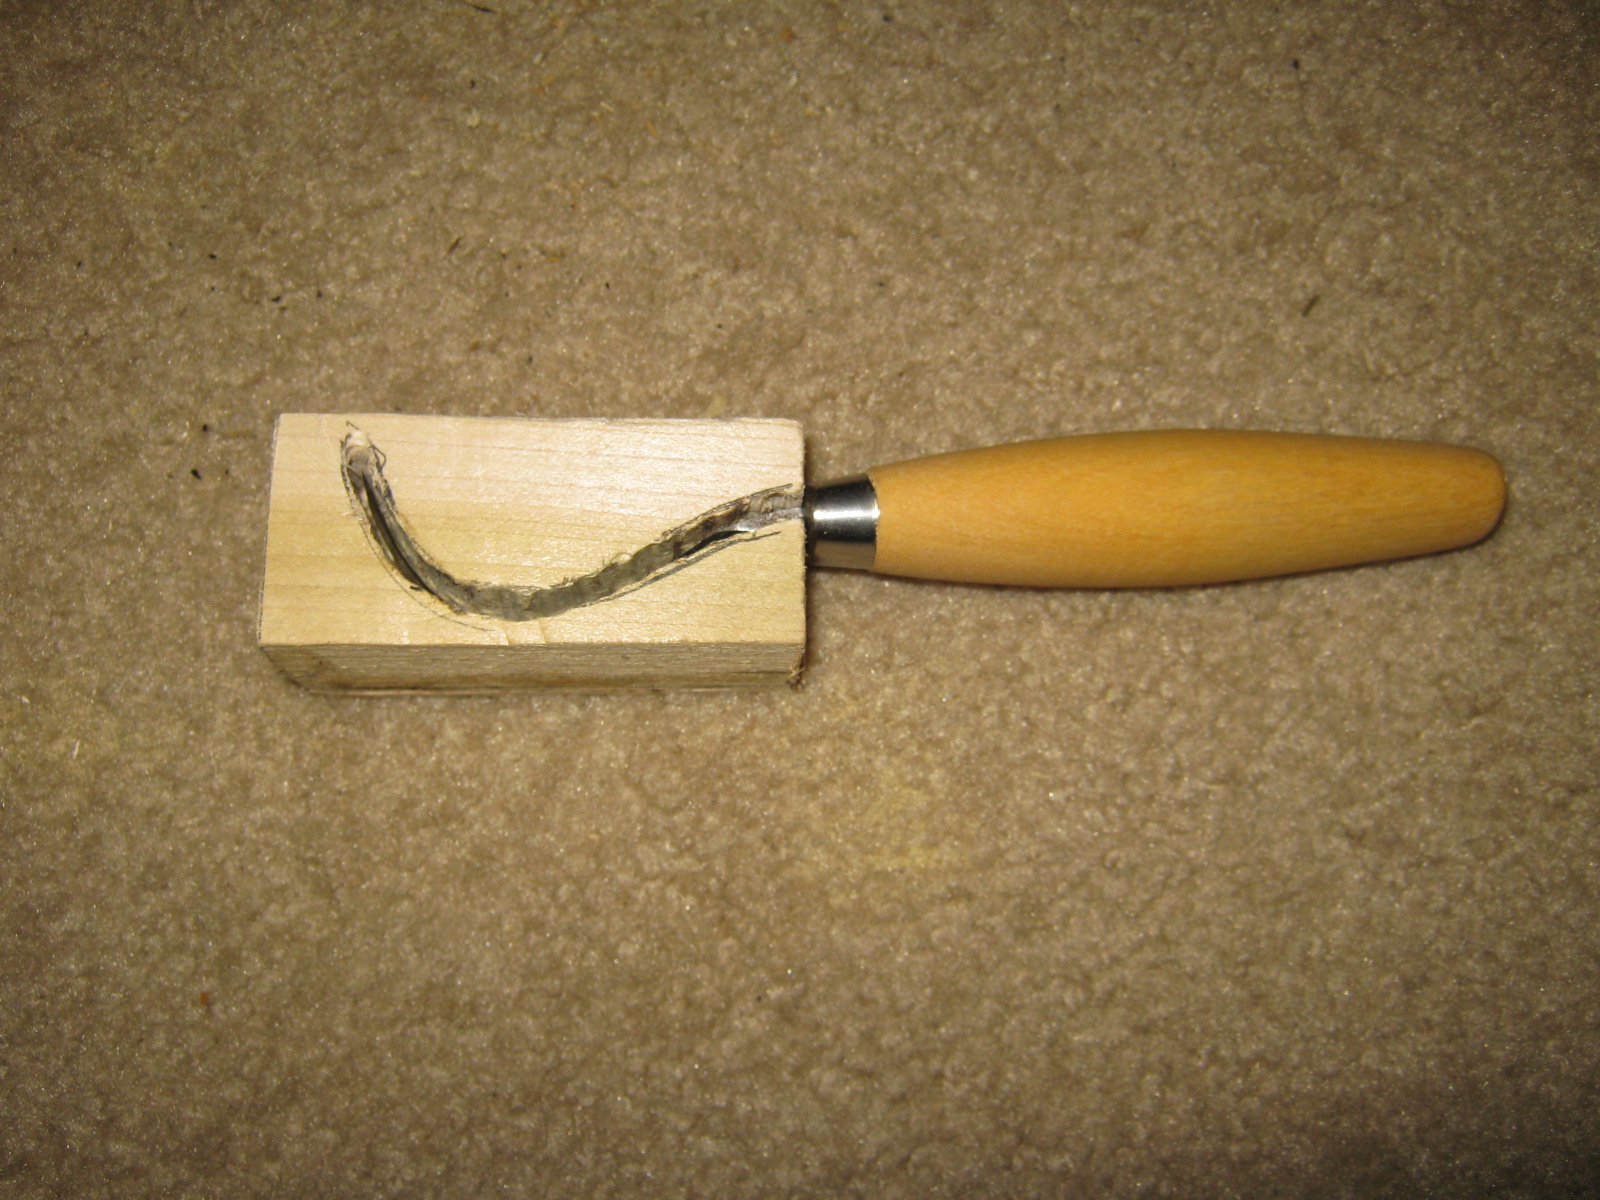
A perfect fit.

Here's the lid. I glued on a piece of the same wood to the bottom just to even it out & make it look nice.

The lid & bottom is from a piece of basswood board 1/8" thick.

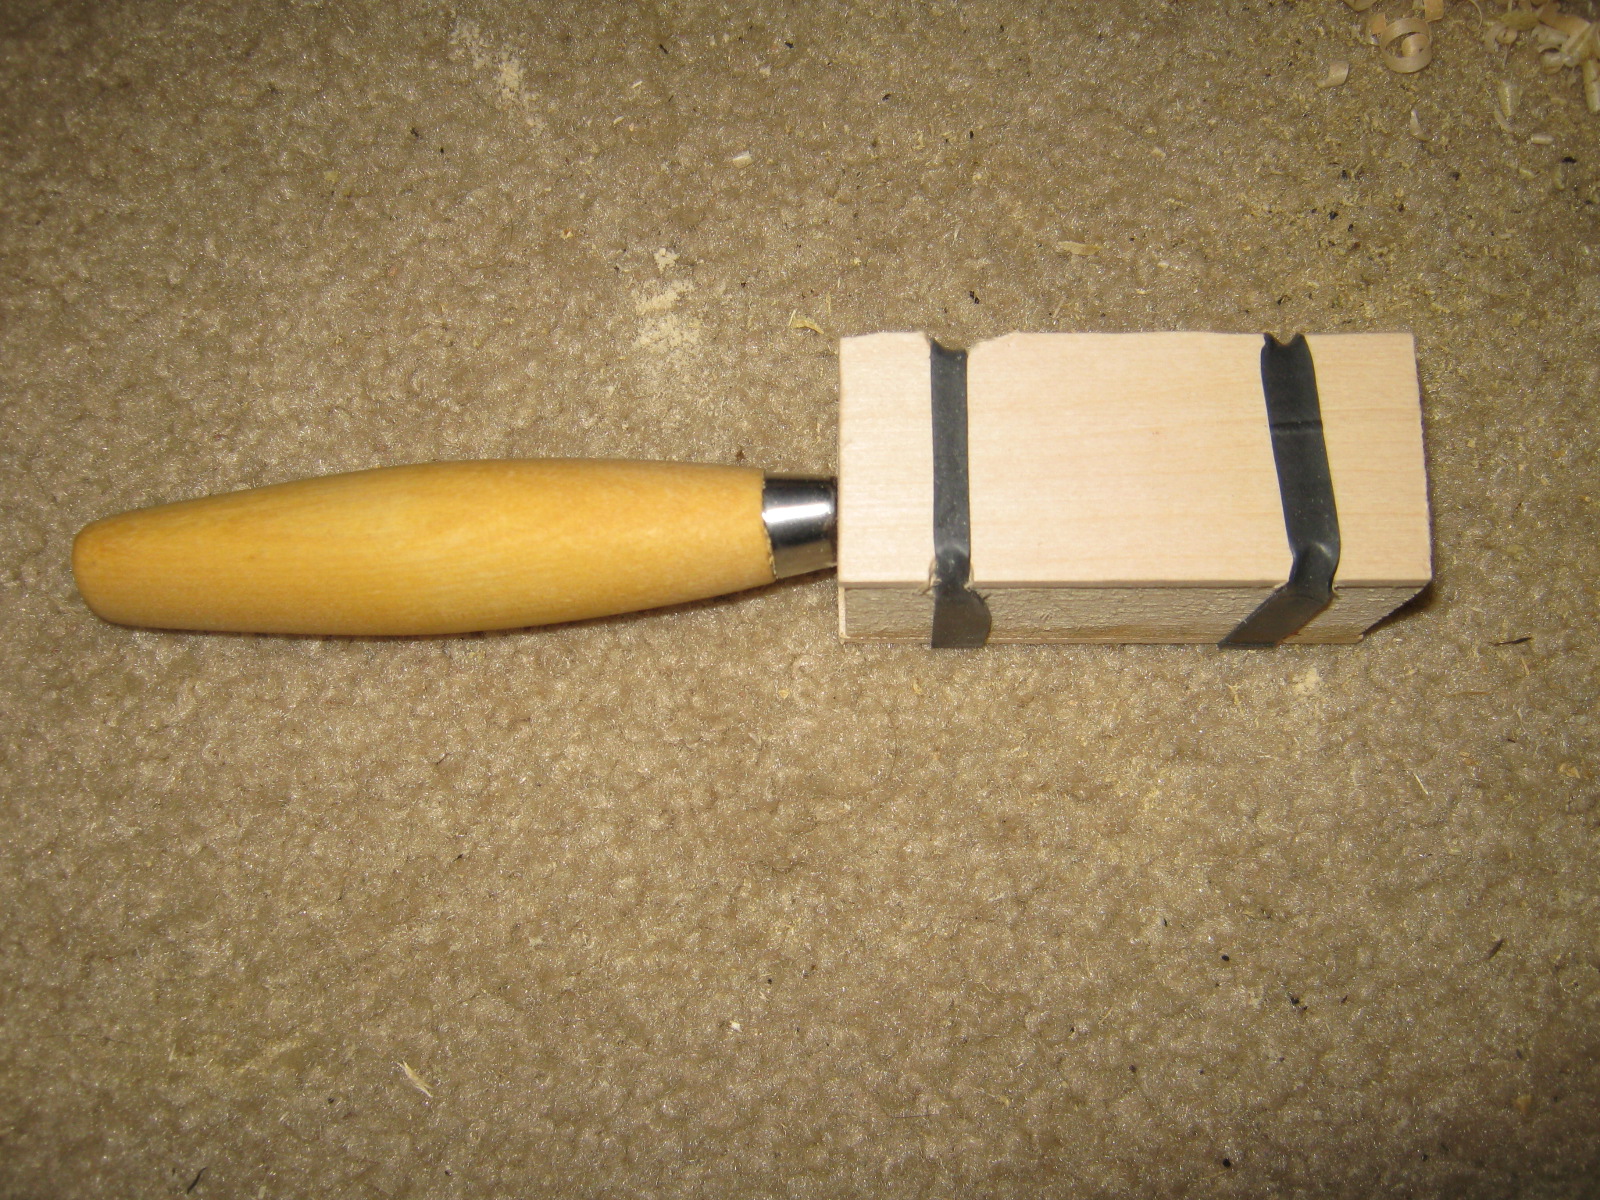
Here I made some indents with a round file into the lid and sides of the case.

The indents hold the ranger bands in place and make a nice safe home for this very sharp blade.
All I need to do is sand it a little to take off any sharp edges. This whole project took all of an hour to do.

Sunday, September 21, 2008

Crooked Knife Case Tutorial

I recently bought a Mora crooked knife from Bens Backwoods store. I saw an article on Jon's Bushcraft about building a "crook" knife case. Here's a link to his article :

http://www.bushcraft.ridgeonnet.com/Crook%20knife%20case.htm

The only difference between his construction method and mine was the use of a carbide rasp instead of burning the groove for the knife blade. Also, mine is "sharp edge up".

The first two photos show the Mora model #164 crooked knife.


Here I penciled the outline of the blade on a piece of basswood.

This line shows the depth of the blade into the basswood block.

After securing the block to my carving jig I started drilling the holes following the blade outline.

Here's a photo of the block after all the holes have been drilled. You can see the carbide rasp in the Dremel tool.

This photo shows the groove after I finished routing it out with the carbide rasp.

The blade fits perfectly.

Here's a side shot of the knife in the block.

This is a closeup of the carbide rasp.
Next I cut a thin piece of basswood for the lid and drilled it after fastening it to the block with a "C" clamp. The dowel rod is a tiny bit larger in diameter than the hole. This makes for a nice tight fit. I still had to sand it a little as it was too tight.

Here's a photo of the lid on the block with the dowel rod fully inserted.

Next I carefully removed the lid and cut off the excess dowel rod.

Then I scored the circumference of the dowel to better hold the glue. I used some fast drying arrow nock glue.

Here's a photo of the lid with the dowel glued in place.

Here's a closeup of the dowel showing the score marks. It helped secure the dowel to the lid quite well.

After trimming the corners from the block and lid and a bit of sanding the case is finished. All that's left to do is a final sanding and its done.

Top view:

Side view:

Bottom view:


As you can see the lid is very secure.


Thanks for reading my blog!